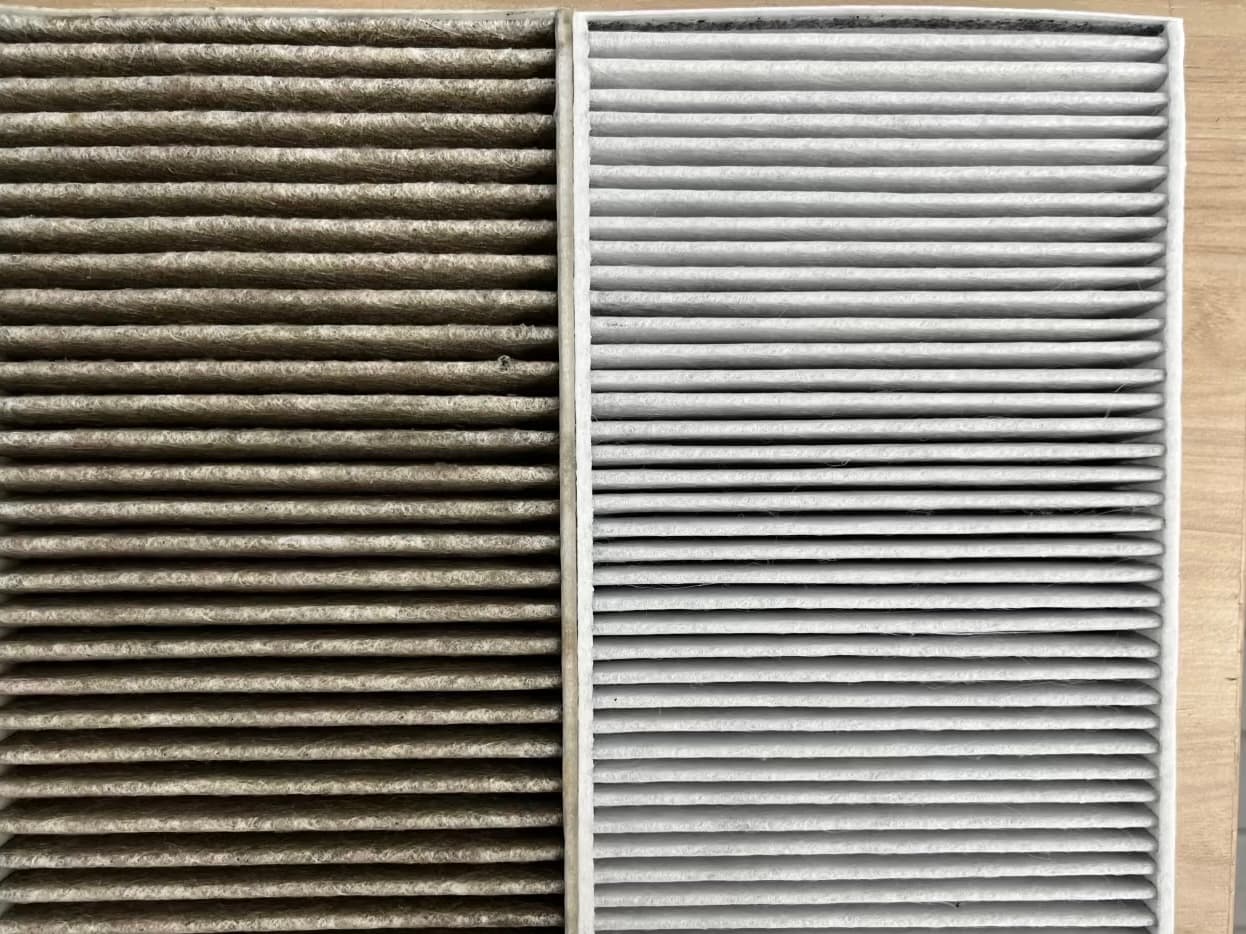
Replace the Model Y cabin air filters when odor, airflow, or Tesla's official interval points to it. Buy by exact model year and filter shape, then follow Tesla's current DIY page.
What Owners Should Know
Cabin air filters are easy to ignore because they do not change range, acceleration, or charging speed. They affect something more ordinary: how the car smells, how clean the cabin air feels, and how hard the HVAC system has to move air through the filter stack.
Tesla's current Model Y DIY cabin filter procedure says to replace the cabin filters every two years. That is a useful baseline, not a reason to ignore obvious signs earlier. Dusty parking, humid weather, frequent outside-air use, pollen, leaves, and long periods sitting parked can all make a filter look old before the calendar feels old.
The biggest buying mistake is treating every "Model Y cabin filter" listing as interchangeable. Tesla's procedure notes different retaining hardware for vehicles before and after 2025, and the exact access steps can change by build. Confirm fitment against the vehicle, not just the product title.
Signs the Cabin Filter Is Ready
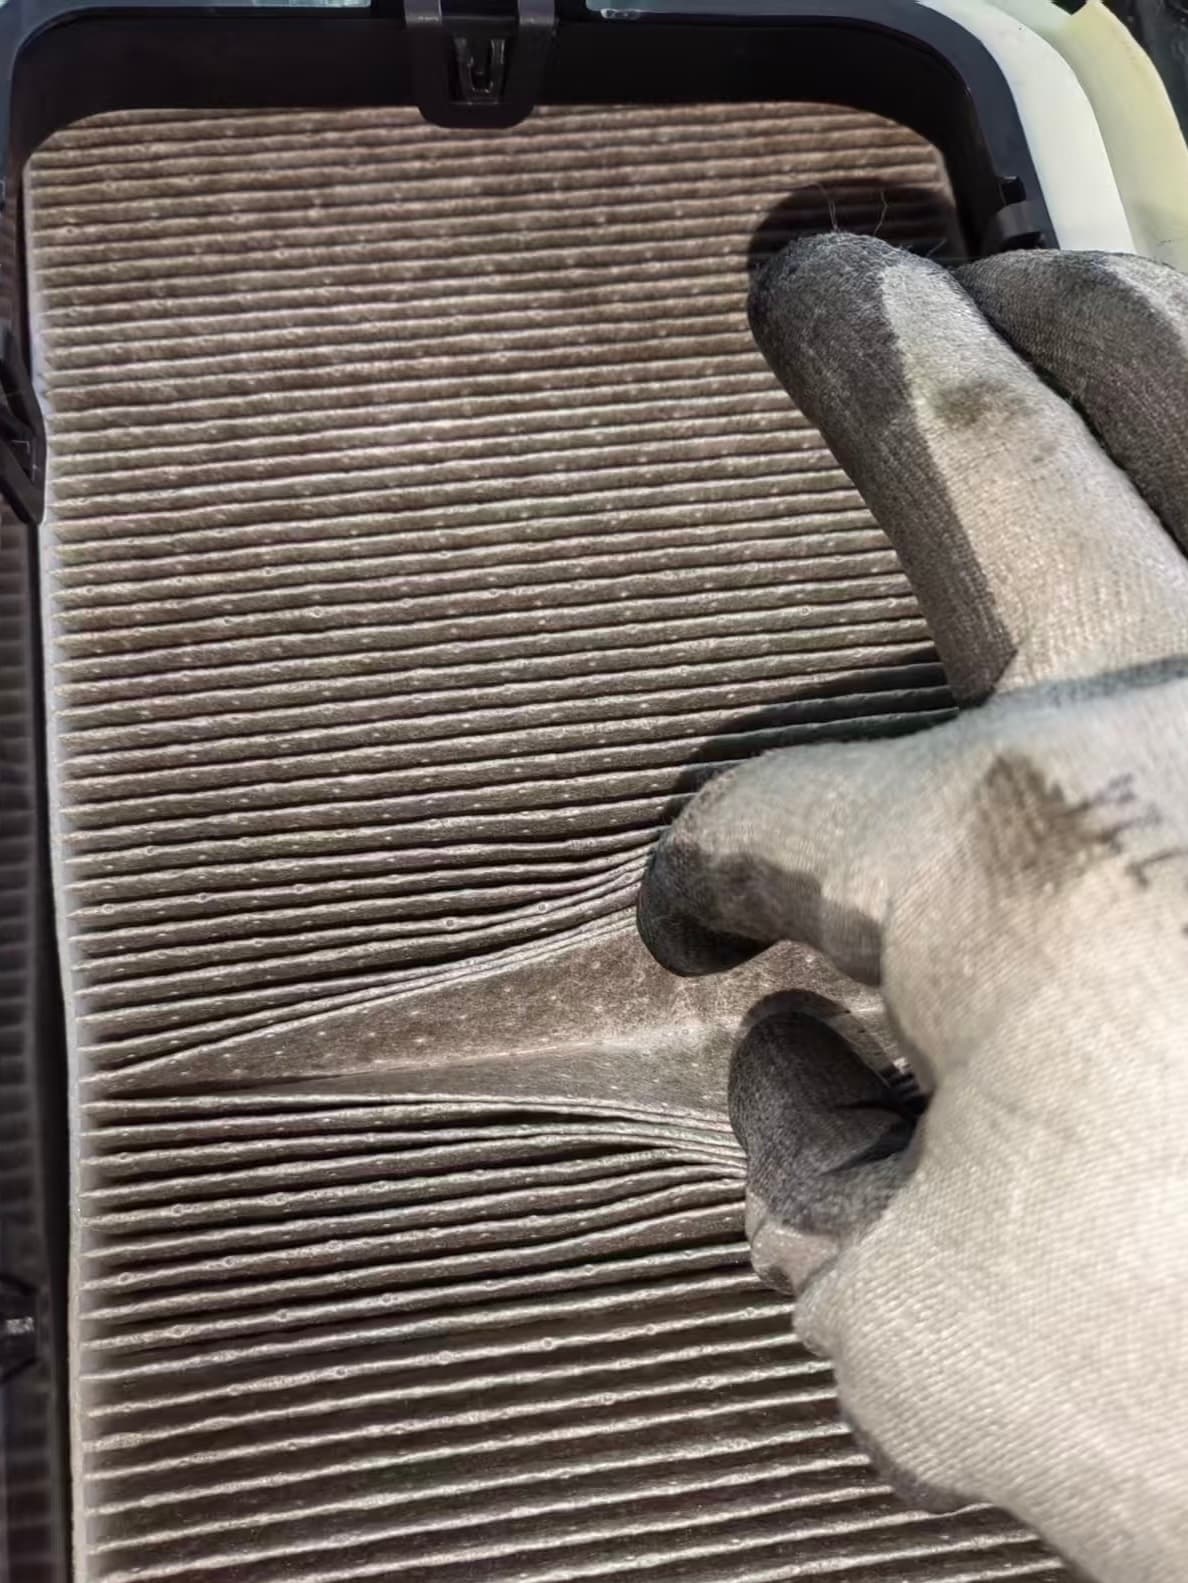
The most common clue is a musty or dusty smell when the fan starts. A filter can also look loaded with debris, feel damp, or coincide with weaker airflow. None of those signs proves the filter is the only issue, but they are enough reason to inspect it.
Do not chase fragrance first. Adding an air freshener can hide the signal while the filter, moisture, or evaporator area still needs attention. I would rather see the old filter and decide from evidence than keep masking a smell that returns every time the HVAC wakes up.
Practical Steps
- Open Tesla's current DIY page first. Use the official Model Y cabin filter procedure for the vehicle rather than a random video.
- Confirm your model year and hardware. Tesla notes different access hardware before and after 2025, so check the actual panel and fastener style.
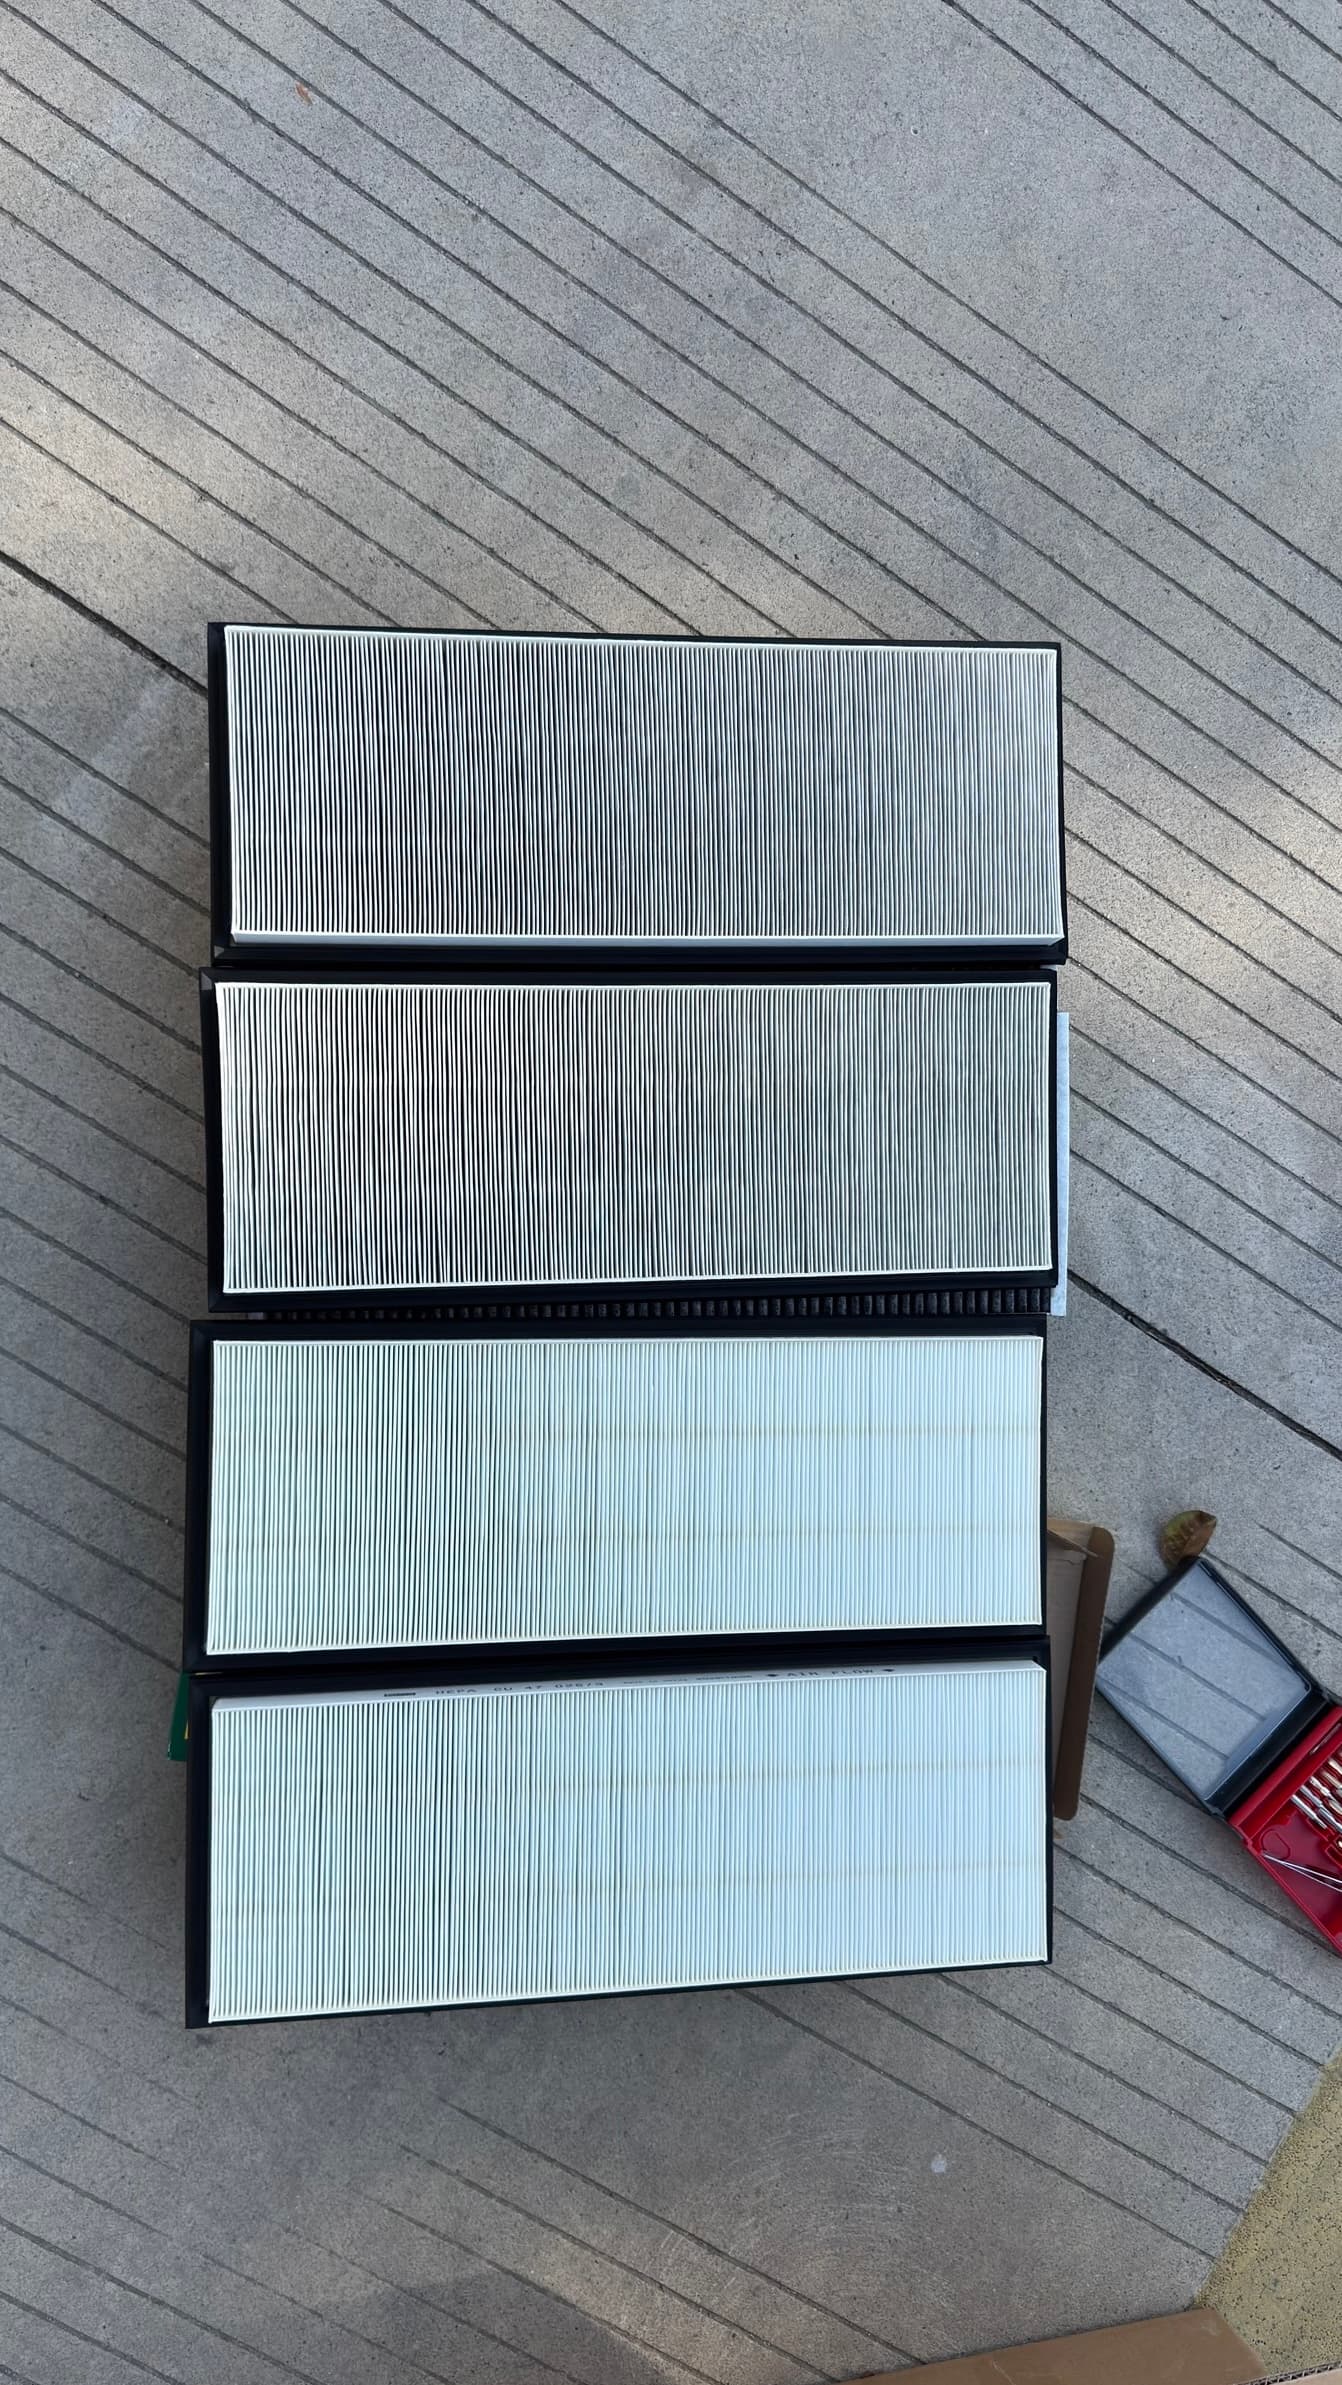
- Buy a matched pair. Tesla's procedure shows two filters stacked in the housing; avoid listings that are unclear about quantity, shape, airflow direction, or exact compatibility.
- Check the airflow arrows. Tesla says the arrows on the new filters should point toward the rear of the vehicle.
- Replace gently. Trim panels, electrical connectors, and the filter cover are not places to force anything. If the car does not match the guide, stop and reassess.
- Run the fan afterward. Confirm airflow, listen for rubbing or loose trim, and check whether odor improves over the next few drives.
What to Buy
For most owners, the right replacement is boring: a pair of correctly shaped filters with clear airflow arrows and a seller page that names the exact Model Y years it supports. Activated-carbon filters can be attractive if odor is the main complaint, but do not assume a carbon layer fixes moisture or evaporator odor by itself.
Before buying, verify:
- The listing includes two filters if the vehicle uses the two-filter stack shown in Tesla's procedure
- The product names Model Y and the relevant production year range clearly
- The filter edges, tab layout, and thickness match the official procedure and your removed filter
- The seller provides a return path if fitment is wrong
- The filter has clear airflow-direction markings
I would be cautious with overly broad listings that claim to fit many Tesla models and years without showing the filter shape. This is a cheap part, but a wrong cheap part still wastes time and leaves the car half-apart.
Tesla-Specific Recommendations
Read the vehicle-specific owner or service documentation before beginning. Tesla's DIY page is the best starting point because it shows the passenger-footwell access path, stacked filters, retaining hardware notes, and airflow direction. If your panel, fastener, connector, or cover looks different, treat that as a reason to pause.
If the smell comes back quickly after a filter replacement, the filter may not be the only source. Moisture in the HVAC system, wet floor mats, damp cargo items, outside air, or parking environment can all contribute. A replacement filter is the low-risk first step; persistent odor may need deeper cleaning or service guidance.
For cars still under warranty or with unfamiliar trim access, do not pry aggressively. Breaking a clip or damaging a connector is a silly way to make a maintenance item expensive.
Owner Notes
- Buy first: a correctly matched filter pair with clear airflow arrows.
- Delay: scented add-ons until the old filters are inspected and replaced.
- Worth doing: photographing the old filter before disposal, because it shows whether the issue was dust, leaves, moisture, or just age.
- Common mistake: ordering by "fits Tesla" search results instead of checking the exact Model Y year and Tesla's current procedure.
If I Were Buying Again
I would buy one plain, well-documented filter pair before trying odor gadgets. The useful part is not fancy packaging; it is correct fitment, clear airflow direction, and replacing it before the cabin smell becomes part of every drive.
FAQ
How often should I replace the Tesla Model Y cabin air filter?
Tesla's DIY guidance says to replace Model Y cabin filters every two years, but odor, dust, humidity, parking environment, and the exact vehicle can justify checking sooner.
Does the Model Y use one cabin air filter or two?
Tesla's Model Y DIY procedure shows two cabin filters stacked in the HVAC housing. Confirm the current official instructions for the exact model year before buying or installing replacements.
Can a dirty cabin filter cause a bad smell?
Yes, a dirty or damp cabin filter can contribute to musty cabin odor, although the evaporator, moisture, outside air, and parking conditions can also be involved.
Can I replace Model Y cabin filters myself?
Many owners can, but it involves trim access in the passenger footwell and different retaining hardware by model year. Stop and use service help if the panel, connector, or filter cover does not match Tesla's current DIY page.
Which direction should Model Y cabin air filters face?
Tesla's DIY instructions say to install new filters with the airflow arrows pointing toward the rear of the vehicle. Always confirm with the current official procedure and the markings on the replacement filters.